


How to start a blog?
A step-by-step guide on creating your own blog
Blogging can be a fun hobby and is a good way to express your thoughts online. With a personal blog, you can share your interests and stories with other people, and write on topics you’re passionate about. But a blog can also be a great addition to a business website. For example by writing interesting pieces about your products, and highlighting trends in the industry
In this guide, you will learn everything you need to know to successfully create a blog with WordPress.
How much does it cost to create a blog?
Although it is possible to create a blog for free, it is often not a smart choice. The possibilities you get with a free blogging platform are limited, and you will still need their paid features to get the most out of your blog.
And besides, creating a professional blog is not expensive at all. It does not have to cost you more than a few pounds a month.
Of course, you can put as much money into it as you want. For example, by purchasing premium WordPress themes from third-parties. But this is not essential for any blog.
How to create a blog?
With these five steps, you can start your blog right away:
- Choose a hosting plan.
You don’t need a big and expensive plan to create a blog. We always advise bloggers to use our “Explorer” plan. It is a perfect fit for blog websites and has all the necessary features. - Register a domain name.
A blog on your own domain shows that you’re professional and is more likely to attract traffic than a blog on a subdomain. It is often the best option to use the name of your blog as your domain name. After you have chosen your domain name and completed your order, you can log in to the one.com Control Panel. - Install WordPress.
In your one.com Control Panel, go to ‘WordPress’ to install WordPress on your website. Here you can decide if you want your blog on your full domain (website.com) or a subdomain (blog.website.com). If the blog is an essential part of your website, we advise you to install it on your full domain. Once you have decided that, you can install WordPress and create your login details. Keep in mind that logging into your WordPress dashboard is not the same as logging in to the one.com Control Panel. - Select a theme.
To finish the installation, fill in a title and tagline, and select a theme. A theme defines the appearance of your website, and as a one.com customer, you get to choose from our themes. You can always change the theme at any time and in your WordPress dashboard, you can find thousands of other, free themes. It is recommended to install demo data. - Start blogging.
After the installation is complete, you can start blogging! Go to posts to create new blog posts and categories. If you have any imported demo data, you can find examples of posts here. You can delete or change these example posts when you don’t need them anymore.
How to make my blog look great?
The themes you can choose from after the installation of WordPress are all developed by one.com and are exclusive to our customers. You can find these themes in the WordPress dashboard by going to one.com -> themes. You can create a blog with any of those themes, but some themes are developed with more of a focus on blogging websites:
- Express
- Publisher
- Showcase
- Travelo
We recommend that you import the demo data for the theme you chose. This makes your blog website look exactly like the preview, including the content. By importing demo data, you import real blog posts, categories and pages. This makes it easier for you to get started on your blog, because you can use the demo data as an example of a great looking blog.
At appearance -> themes you will find thousands of other free themes. If you’re at some point not satisfied with the design of your blog anymore, you can easily install and activate a different theme. You can also customise your current theme by navigating to the name of your theme in the sidebar of the WordPress dashboard, or by going to appearance -> customize.
How do I start blogging?
Make sure you are happy with the design of your blog before you start blogging. You don’t want to worry about the design anymore when you’re already receiving traffic. Once you’re satisfied with the design, you can focus on the most important thing: writing and publishing blog posts.
Publishing posts
You will find all your existing blog posts at posts -> all posts, and can create a new post at posts -> add new. You can save posts you’re working on as a draft, and publish them when they’re completed. You may have already written a few blog posts, which you can publish immediately, to give your blog some shape.
If you have imported the demo data of a theme, you can use this as an example for writing a blog post. Don’t forget to delete or switch them to a draft when you no longer need them.
The default WordPress editor works with blocks. A block is part of a page or blog post. This can be a title, a paragraph, an image or a list, for example. This is easy to figure out when you start blogging. Keep in mind that demo data for some themes may still have been created with the classic editor, instead of with blocks. If this is the case, you will see classic above a piece of text. Go to more options and click convert to blocks to change this.
In the sidebar on the right, you can define additional settings for a blog post. For example, which URL the blog post should have, which category it belongs too and whether visitors are allowed to post comments.
You can save a draft and continue writing the blog post later by clicking save draft. With the preview option, you can see what your current blog post would look like if it was published.
The publish button places the blog post on your site and allows it to be visited. You should only do this after your blog post is completely finished.
Creating categories
Categories allow you to group different blog posts. This is very useful for your blog visitors because it makes it easier to find blog posts that interest them. You can add categories to the menu via appearance -> menus.
Subcategories allow you to structure your blog even better. A subcategory is created in the same way as a regular category, but it has to have a parent category. A structure of blog categories could look like this:
- Holiday
- Summer Holiday
- Ski Holiday
In this example, holiday is the parent category and the other two are subcategories.
Using media
Media includes images, videos, audio and documents. You can simply add this as a block when creating a blog post. All media files are collected in a library at media. In this library, you can also upload media files that you want to use later on your blog.
Adding users
Do you want several authors to be able to write blog posts? This can be done with users. It allows you to add new users and give them a role. The role determines what the user can do in the WordPress dashboard.
Any role, except a subscriber, can create blog posts. The main difference between author and contributor is that the author can publish blog posts, while the contributor can only write them. But the author can only manage his own content, while the editor can edit all blog posts. The administrator has no restrictions and is the only role with access to settings and plugins.
How to get more traffic to my blog?
Starting a blog is fun and exciting, but if you don’t get visitors, the fun and excitement can disappear quickly. Fortunately, we have some tips to help you get more traffic to your blog.

Write great content
Naturally, this is the most important. Your blog will not attract and keep many visitors if the content is not up to par. That’s why you should publish interesting and catchy blog posts, without difficult sentences or grammar mistakes. Good content will motivate users to return to your blog. This, in combination with new visitors, will make sure the total number of visitors continues to grow.
Use marketing channels
Use online marketing to reach more people and retain visitors. Get started with SEO to increase your blog’s search engine rankings and use email marketing to keep your visitors up to date with new posts and other blog-related news.
Create social media pages
Social media can be very valuable for a blog. Start social media pages for your blog to create more interaction with your followers, and keep your followers informed about updates and new blog posts. Allow your visitors to share your blog posts on their social media. This is an excellent way to reach more visitors.
Keep in mind that getting more traffic takes time. Your blog needs time to grow and won’t get thousands of extra visitors overnight.
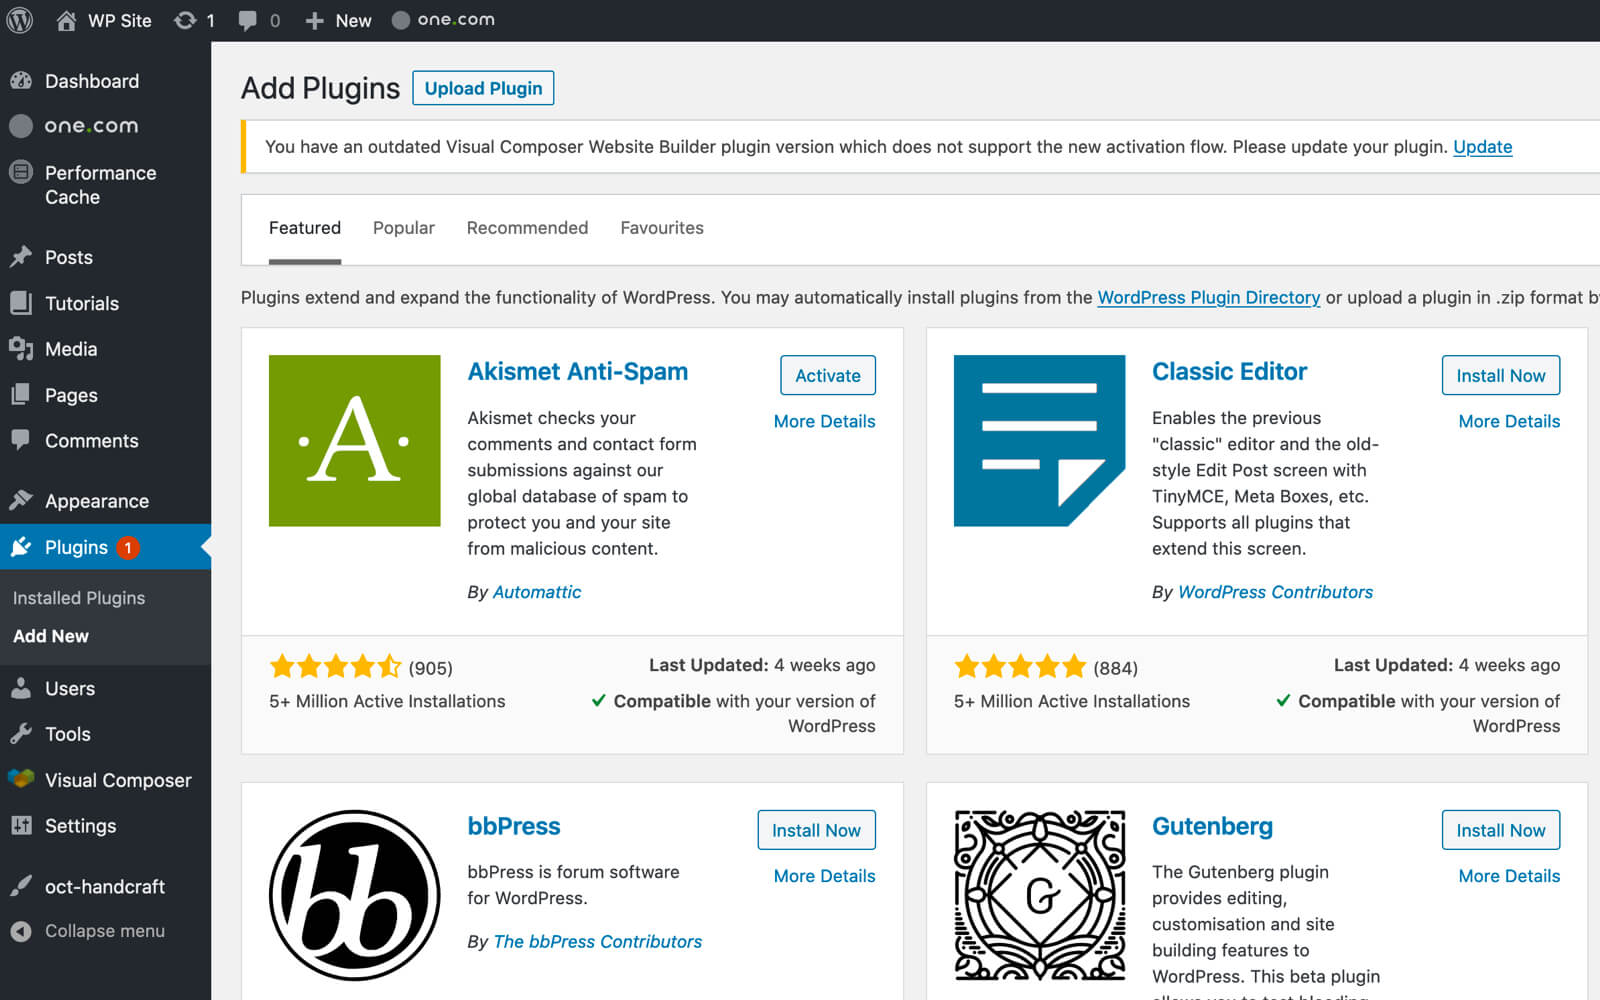
Which plugins are useful for my blog?
In the WordPress dashboard, go to one.com -> plugins to see a list of recommended plugins. We recommend these plugins for any WordPress website because they have several great features, such as:
- Improving the technical performance of your blog
- Increasing the security of your blog
- Helping you with online marketing and social media
- Protecting your blog against spam
Besides our recommended plugins, there are many other useful plugins for your blog. Here are a few:
- Editorial Calendar – A content calendar to schedule your blog posts.
- Starbox – Allows you to personalise the author info box, which is great for blogs with multiple authors.
- wpDiscuz – Greatly improves the comment section of your blog.
Before installing a plugin, always check the reviews, the number of installations and when it was last updated. There are many plugins that can damage your website. Therefore, you should only install plugins that have great reviews, a high number of downloads and are up to date.