


How to set up a WordPress staging site?
Copy your entire live website with our easy WP staging plugin
If you’re a WordPress user, you understand the importance of a staging site—a staging environment where you can play around. You can try out different styles, test out changes, and even fix bugs without disrupting your WordPress website.
You can easily set up a WordPress staging site with our own Staging plugin for WordPress. You can use this great plugin offered by one.com to make all the changes and try-outs you want in a temporary staging environment. When you’re comfortable with the changes you’ve made, all you need to do is copy the changes to your live site.
What is a WordPress staging site?
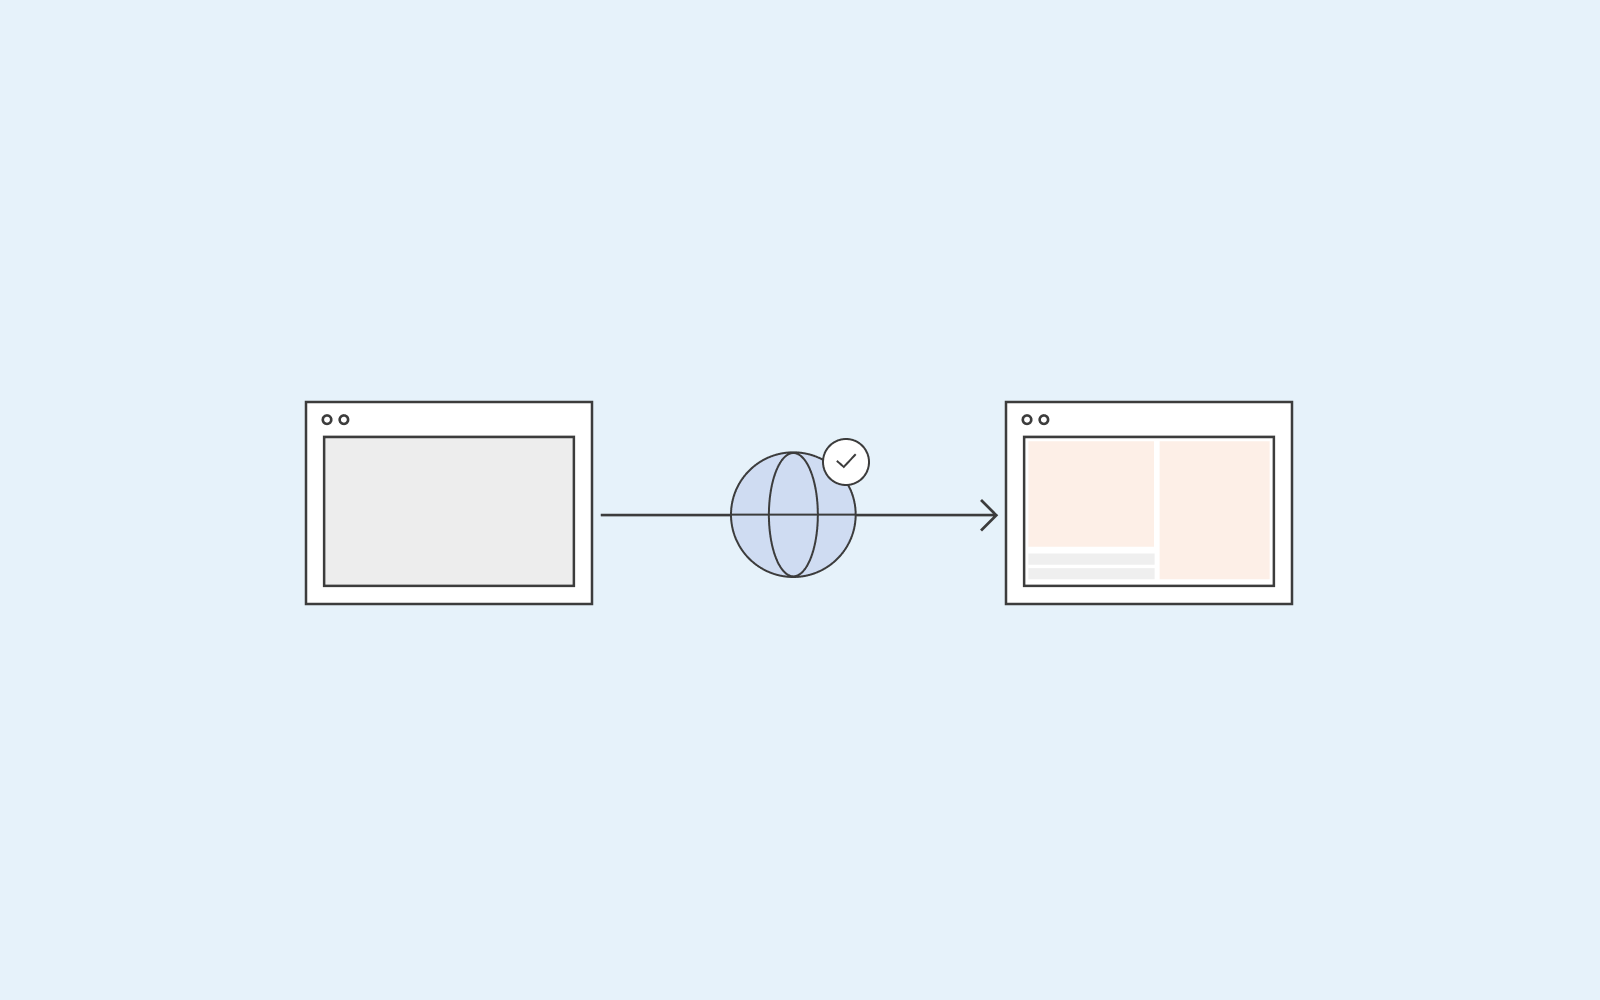
A WordPress staging site is a place where you can go and experiment. A staging site is a duplicate of your WordPress website. If you’ve been thinking of making some changes – without the risk of accidentally clicking on something on your WordPress editor that might delete everything you’ve created – a staging site is for you.
Testing out your changes in a staging environment before you publish them live is always a smart thing.
How to set up your WordPress staging site?
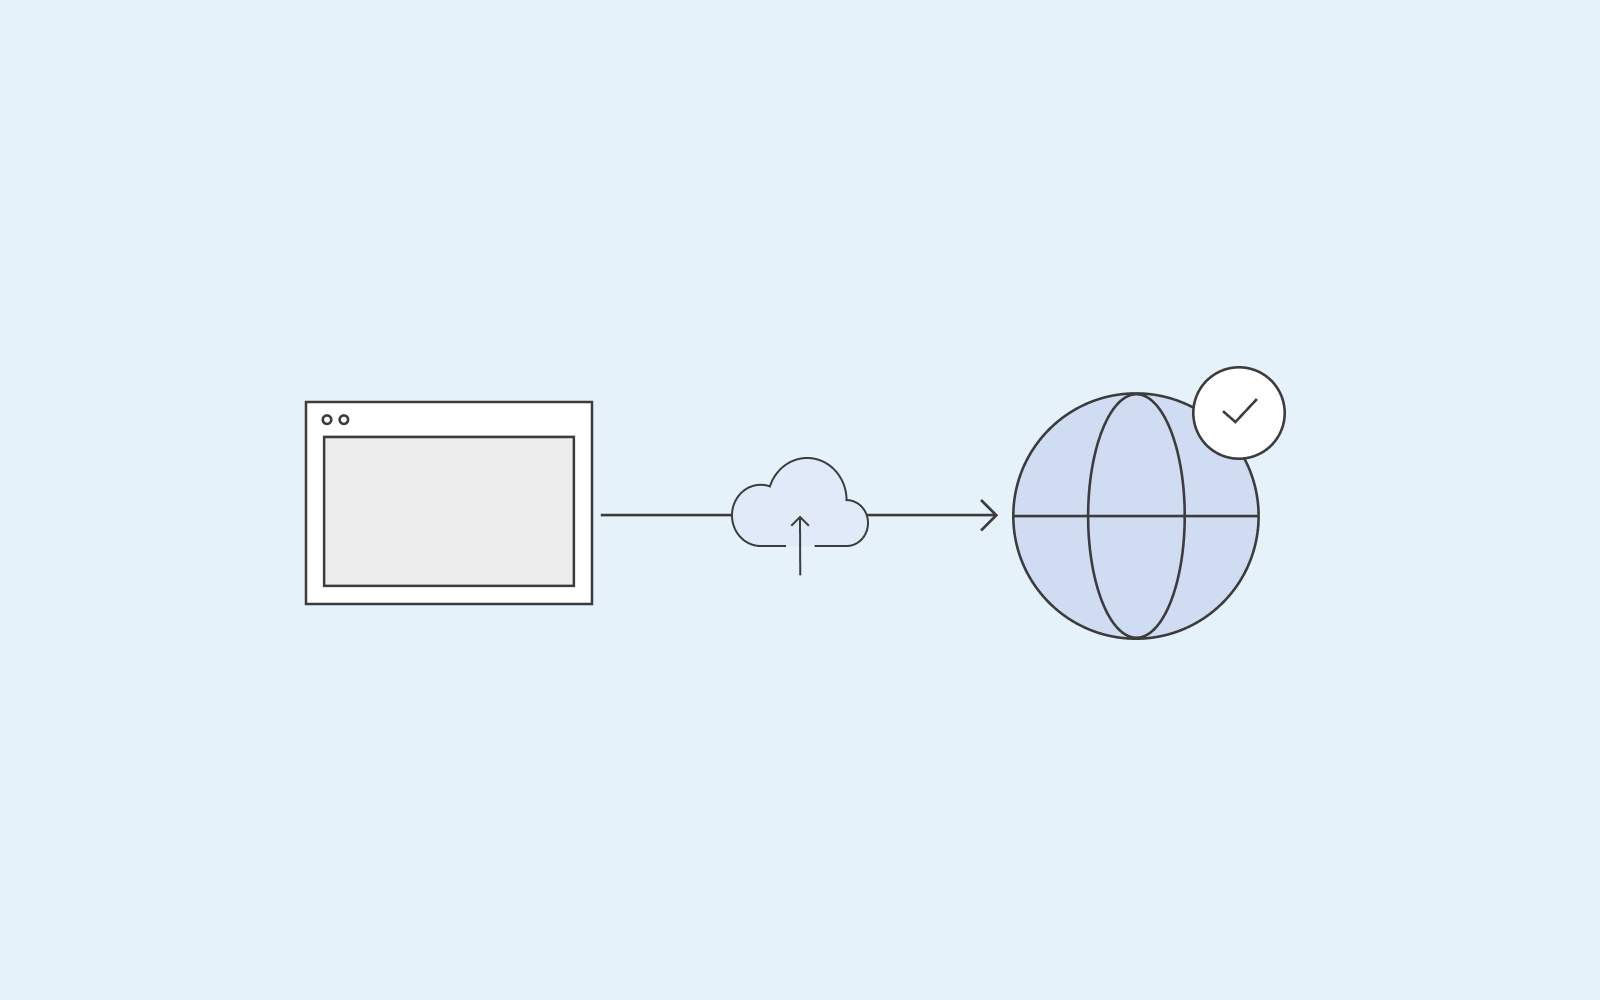
With the staging plugin we offer at one.com; you can easily make a copy of your entire live website. You can play around in the staging environment offline without the risk of either deleting or accidentally publishing something your online users were not meant to see.
The one.com staging plugin is included with the one.com parent plugin for WordPress. We will guide you through the steps of how you can create a staging site with our plugin.
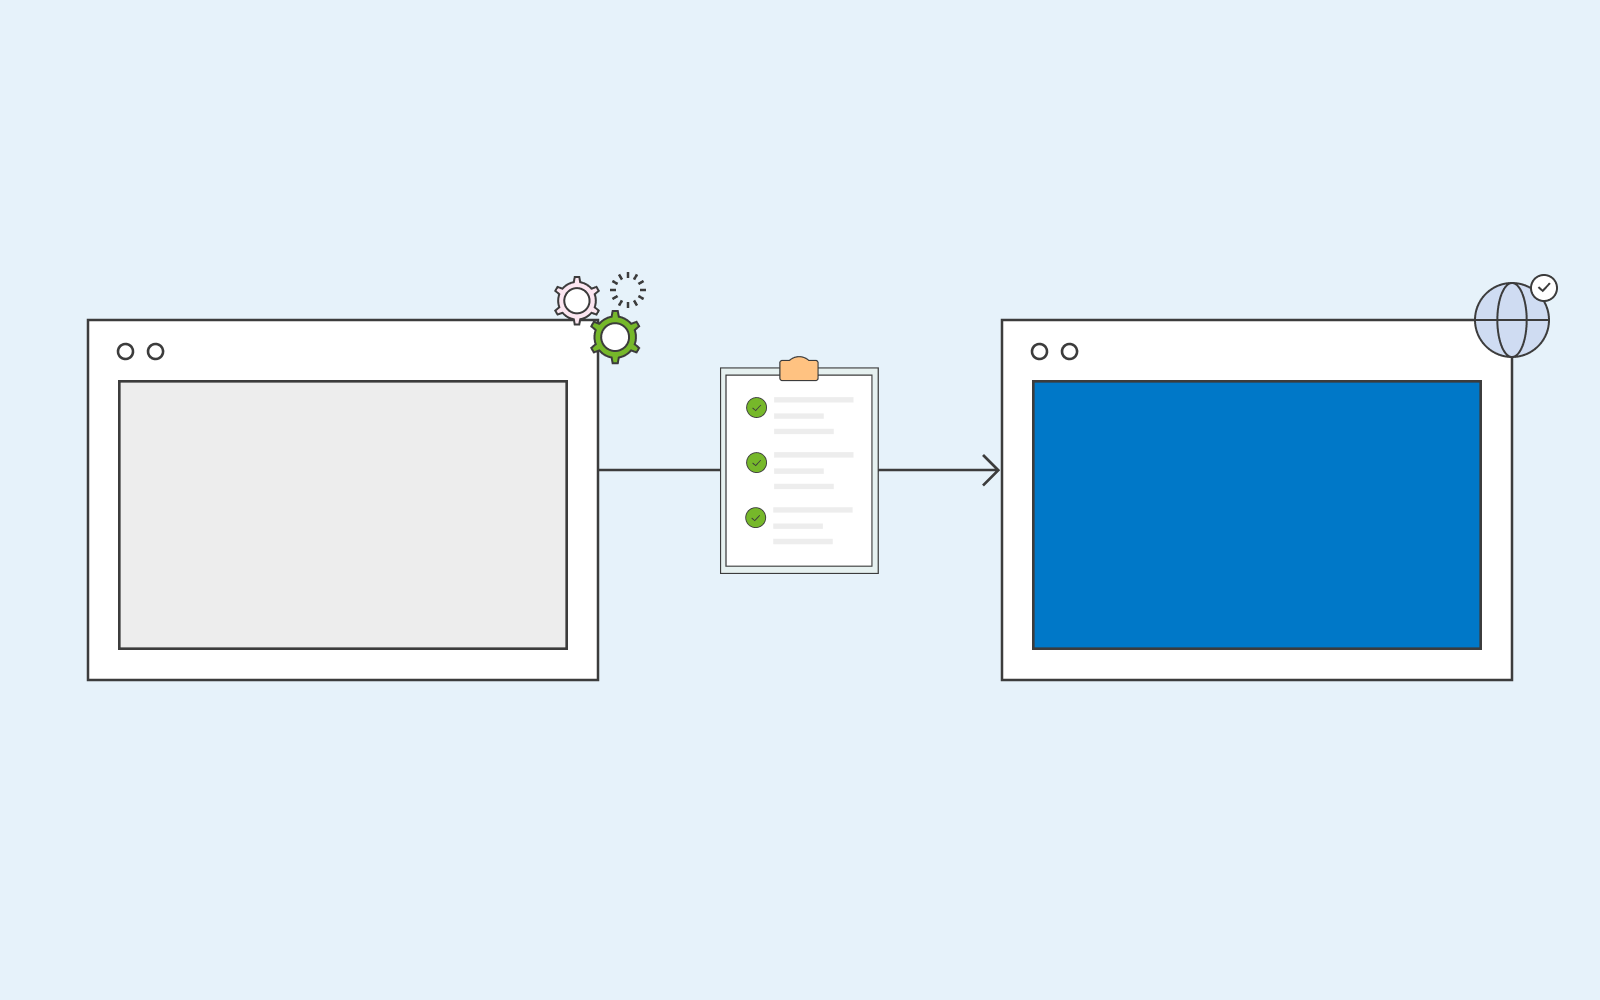
- After you have clicked on the staging plugin (included in the one.com plugin in your WordPress dashboard), click on ‘create a staging site’.
- Once you’ve done that, you’ll receive two links.
One is – staging frontend, where you can view all the changes you have made.
The other is – staging backend, where you can edit your website. - Click on the staging backend link to start editing and playing around.
- Once you are happy with your changes, go back to staging and click ‘copy staging to live’. Voila!
The benefits of the one.com staging plugin.
Whether you’re a developer or a website owner, our plugin can greatly benefit you. Let’s list some reasons why you should work with our staging plugin:
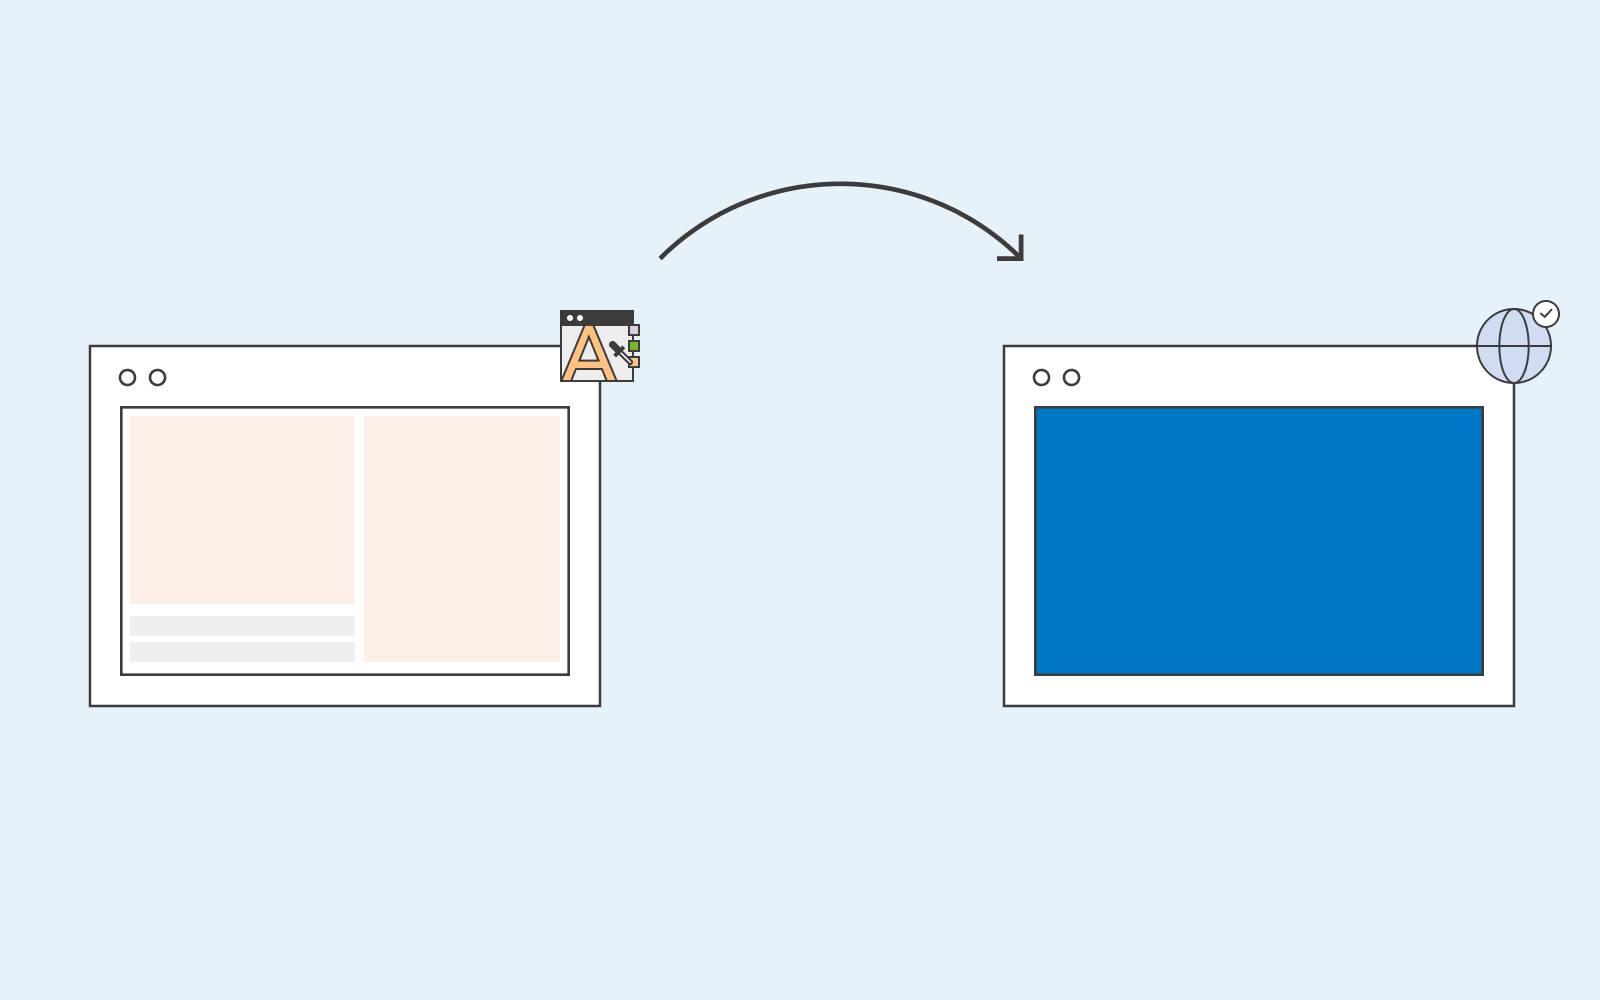
- You have all the time in the world to make customisations according to your wishes, install new plugins and themes, and so much more. Once you’re happy with what you’ve achieved, you can copy everything to your live site. In the meantime, don’t feel any time pressure; your website will still be up and running and available for all your visitors.
- While you’re making your changes (or testing out new stuff), you won’t have to worry about your visitors. They will not see your work in progress. Thus, you don’t have to worry that working on your WordPress stage site will cause damage to your business. Damage such as downtime or even features not functioning because you’re working on the site.
A staging site has many more features that are great. You can use the staging site to test out new features, layouts, colours on banners you want to test out, text you want to try out on your call to actions etc. Updating your website with cool new stuff keeps your website fresh and is a great way to boost your marketing. You can also decide to monitor how your new call to action is doing – whether it’s beneficial to your business or not? If not, test a new one out until you find the perfect one.